Installation Process
Our installation process ensures a sturdy, long-lasting fence for your property. We follow industry best practices and local regulations to deliver quality results.
Preparing for Installation
We begin by marking the fence line and locating underground utilities. Our team checks local zoning laws and obtains necessary permits. We clear the area of obstacles and vegetation that might interfere with the fence.
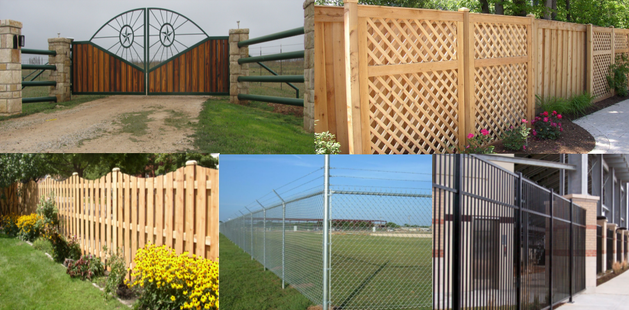
For chain link fencing, we measure and cut the fabric to size. With vinyl fence installations, we unpack and inspect all components. For wood fences, we treat the posts to prevent rot.
We gather all required tools and materials on-site before starting. This includes post hole diggers, levels, concrete, and fasteners.
Setting the Posts
We dig holes for the fence posts, typically 1/3 the post height plus 6 inches for gravel. The holes are usually 8-12 inches in diameter. We add gravel for drainage.
We set corner and end posts first, ensuring they're plumb using a level. For chain link fences, we install tension bands and caps on the posts before setting them.
We mix and pour concrete around each post, sloping it away from the post for water runoff. We let the concrete set for 24-48 hours before continuing.
Securing the Panels
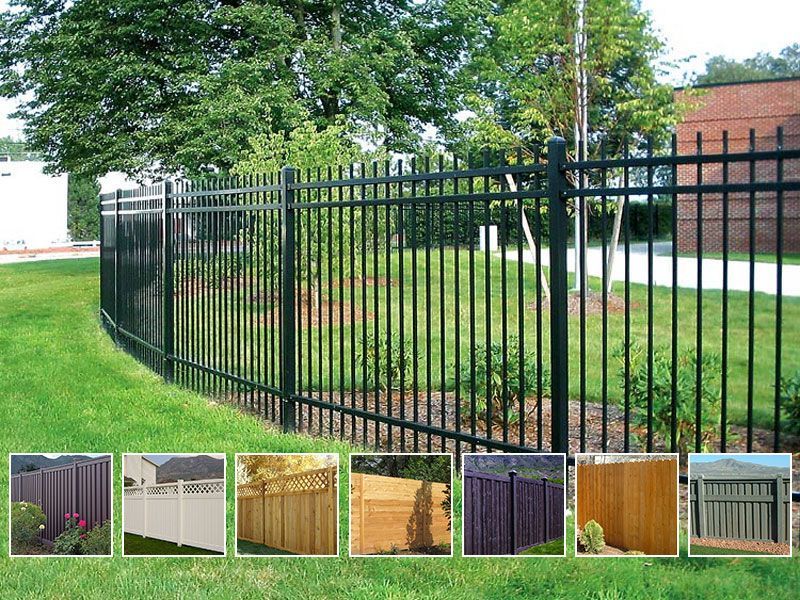
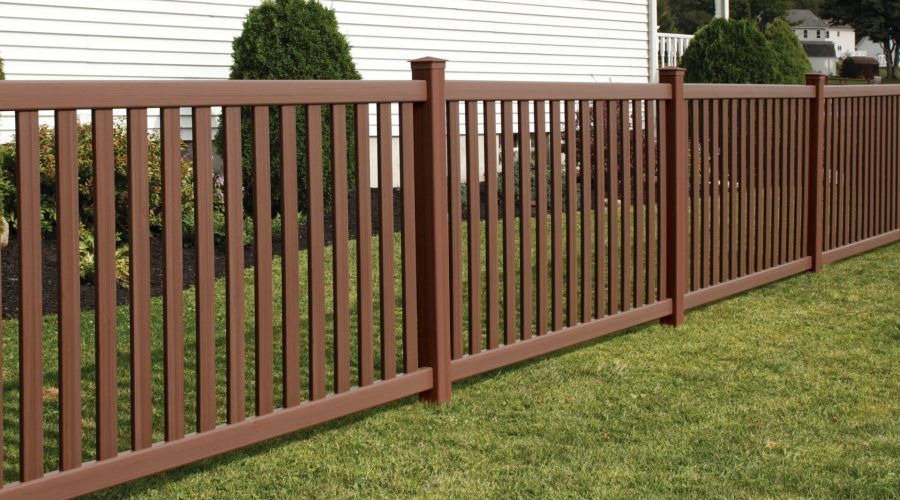
Once posts are set, we install the fence panels or sections. For vinyl fences, we slide the panels into place between posts. With wood fences, we attach rails to the posts and then secure pickets to the rails.
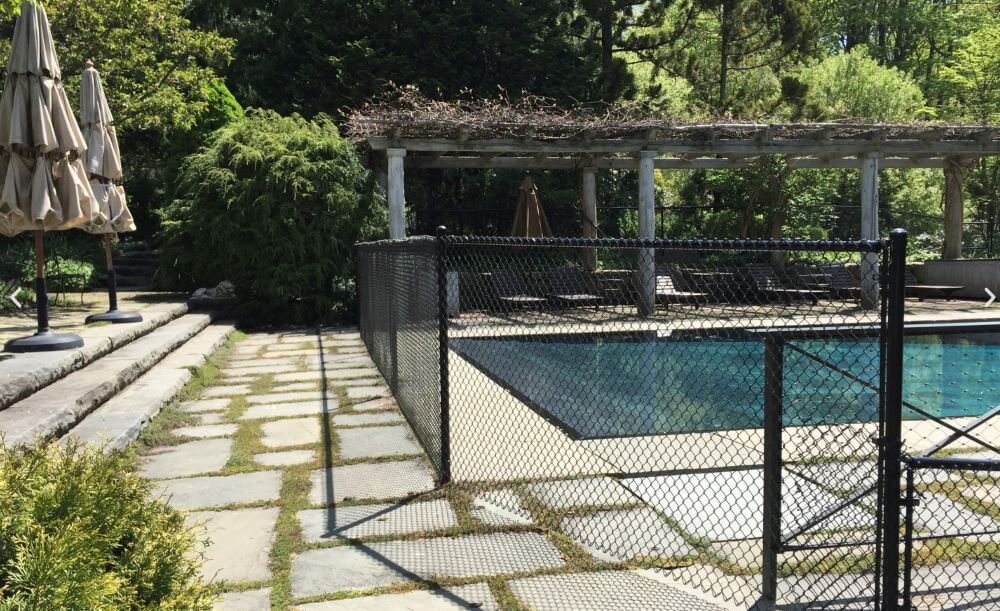
For chain link fencing, we attach the top rail and then hang the chain link fabric. We secure it using tension bars and bands.
We ensure each panel is level and properly aligned with adjacent sections. We double-check all fasteners and connections for security.
Finally, we install any gates, making sure they swing freely and latch properly. We clean up the work site, leaving your new fence ready to enjoy.


